Cofigure Xdebug in Netbeans for Debugging.
Step 1: Install the Xampp Latest Version. in this post I have Installed Xampp in the D:\xampp Directory.
Step 2: Search for the file php_xdebug.dll in the following directory D:\xampp\php\ext
If the file exist then you dont have to download the xdebug file otherwise you have to download the file from the following URL: (http://xdebug.org/download.php)
Step 3: open php.ini file from the directory D:\xampp\php. In that file search for the name Xdebug or scroll down to the last section of the page containing code for Xdebug configuration.

Uncomment the above lines by removing the semicolen(;) in the start of the line and change the these code into following:
[XDebug]
zend_extension = "D:\xampp\php\ext\php_xdebug.dll"
xdebug.profiler_append = 0
xdebug.profiler_enable = 1
xdebug.profiler_enable_trigger = 0
xdebug.profiler_output_dir = "D:\xampp\tmp"
xdebug.profiler_output_name = "cachegrind.out.%t-%s"
xdebug.remote_enable = 1
xdebug.remote_handler = "dbgp"
xdebug.remote_host = "127.0.0.1"
xdebug.trace_output_dir = "D:\xampp\tmp"
xdebug.idekey="netbeans-xdebug"
xdebug.remote_port = 9000
make sure to check the zend_extension refers to the php_xdebug.dll and check for the direcory names and change the xdebug.remote_enable = 1 (from 0) and add the following two lines in the end.
xdebug.idekey="netbeans-xdebug"
xdebug.remote_port = 9000
These two lines refers to the netbeans Session Id and Debuger Port as follows.

Uncheck the Stop at First Line to avoid the debug point goes to first point of the debug.
Now the debug starts..

and the debugging works..
Related Links:
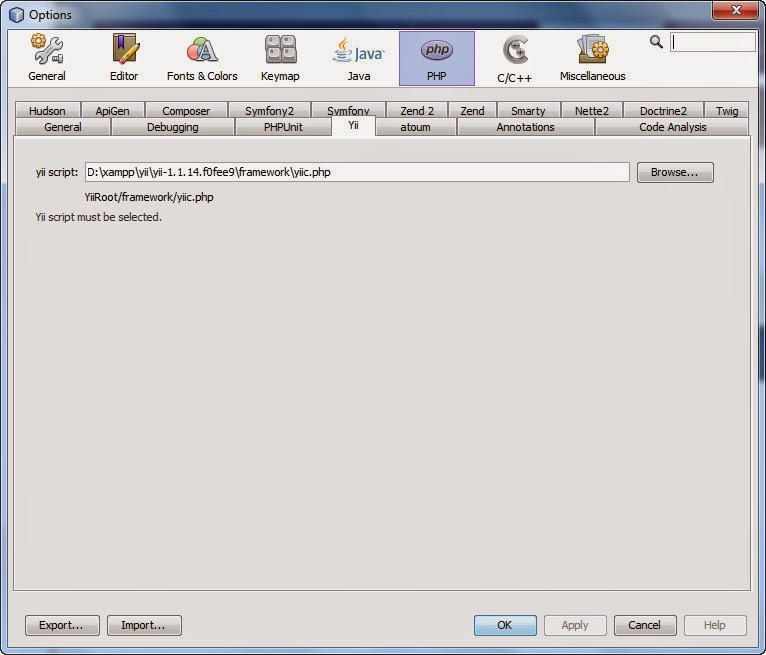
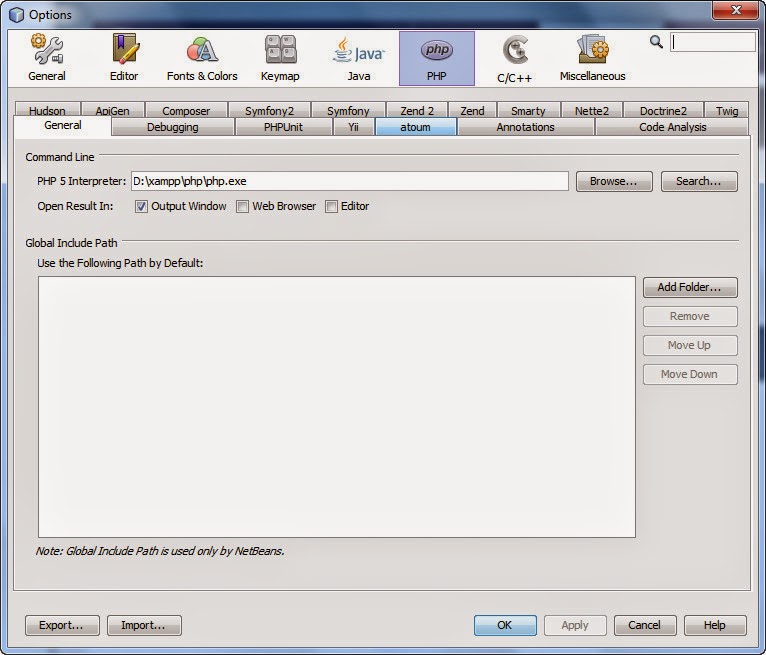
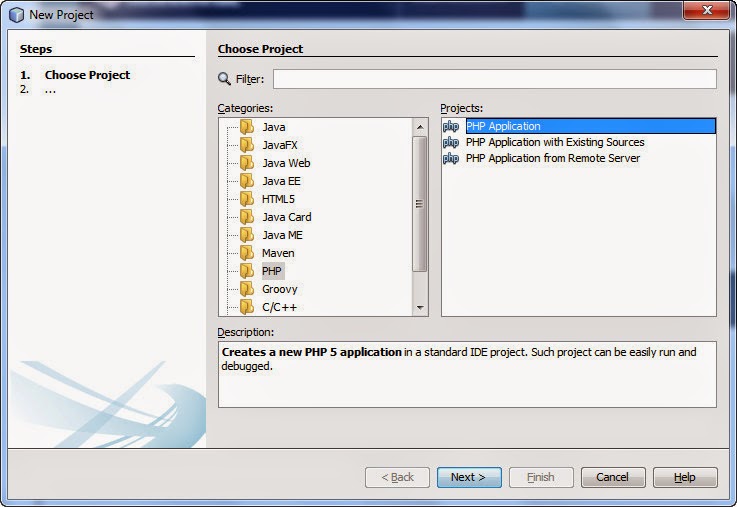
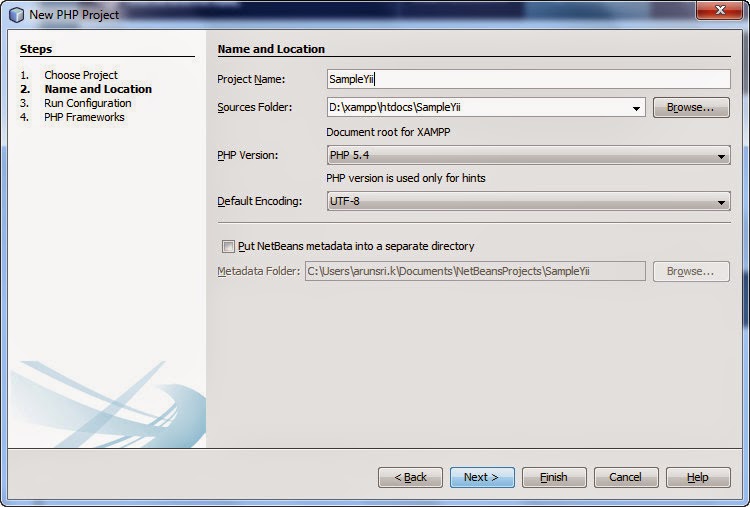
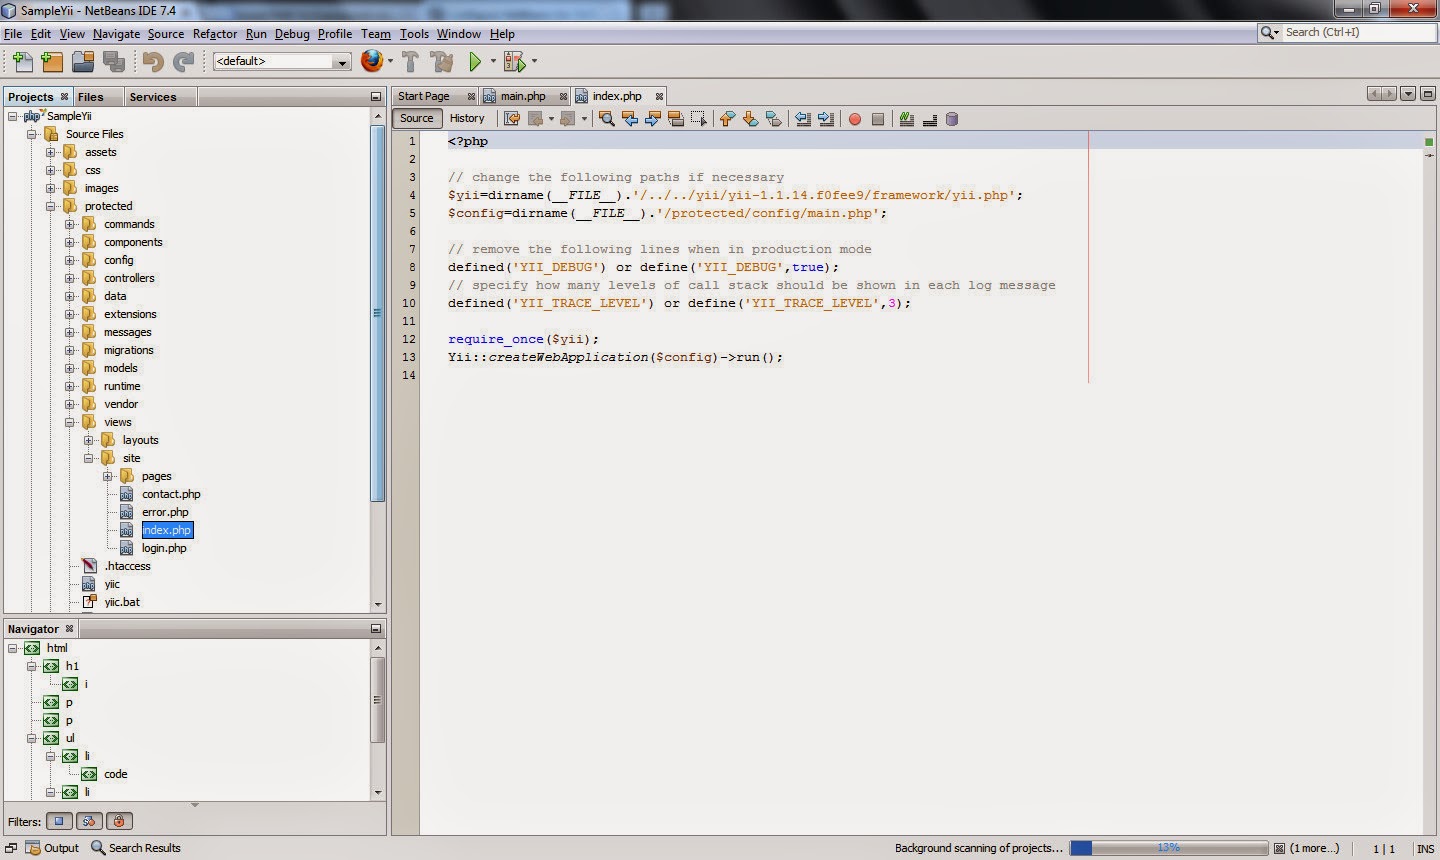
How to configure / install PHP Yii Framework on Netbeans
Step 1: Install the Xampp Latest Version. in this post I have Installed Xampp in the D:\xampp Directory.
Step 2: Search for the file php_xdebug.dll in the following directory D:\xampp\php\ext
If the file exist then you dont have to download the xdebug file otherwise you have to download the file from the following URL: (http://xdebug.org/download.php)
Step 3: open php.ini file from the directory D:\xampp\php. In that file search for the name Xdebug or scroll down to the last section of the page containing code for Xdebug configuration.
Uncomment the above lines by removing the semicolen(;) in the start of the line and change the these code into following:
[XDebug]
zend_extension = "D:\xampp\php\ext\php_xdebug.dll"
xdebug.profiler_append = 0
xdebug.profiler_enable = 1
xdebug.profiler_enable_trigger = 0
xdebug.profiler_output_dir = "D:\xampp\tmp"
xdebug.profiler_output_name = "cachegrind.out.%t-%s"
xdebug.remote_enable = 1
xdebug.remote_handler = "dbgp"
xdebug.remote_host = "127.0.0.1"
xdebug.trace_output_dir = "D:\xampp\tmp"
xdebug.idekey="netbeans-xdebug"
xdebug.remote_port = 9000
make sure to check the zend_extension refers to the php_xdebug.dll and check for the direcory names and change the xdebug.remote_enable = 1 (from 0) and add the following two lines in the end.
xdebug.idekey="netbeans-xdebug"
xdebug.remote_port = 9000
These two lines refers to the netbeans Session Id and Debuger Port as follows.
Uncheck the Stop at First Line to avoid the debug point goes to first point of the debug.
Now the debug starts..
and the debugging works..
Related Links:
How to configure / install PHP Yii Framework on Netbeans