Loop through returned sql results set using nextResult()
PHP:
Method 1:
$command = Yii::app()->db->createCommand("CALL sp_getstudentdetails('view')");
$resultSet = $command->query();
// retrieving all rows at once in a single array
$array1 = $resultSet->readAll();
var_dump($array1); //Dumps information about a variable
$resultSet->nextResult(); //Return if there is another result
// retrieving all rows at once in a single array
$array2 = $resultSet->readAll();
var_dump($array2); //Dumps information about a variable
Method 2:
$command = Yii::app()->db->createCommand("CALL sp_getstudentdetails('view')");
$resultSet = $command->query();
// calling read() repeatedly until it returns false
while (($row = $resultSet->read()) !== false) {
var_dump($row);
}
$resultSet->nextResult();
while (($row = $resultSet->read()) !== false) {
var_dump($row);
}
Mysql Stored Procedure:
drop procedure if exists sp_getstudentdetails;
DELIMITER $$
CREATE PROCEDURE sp_getstudentdetails(
in p_mode varchar(100))
BEGIN
IF p_mode = 'view' THEN
select * from student; /* first select query */
select * from studentdetails; /* second select query */
END IF;
END$$
DELIMITER $$
Related Links:
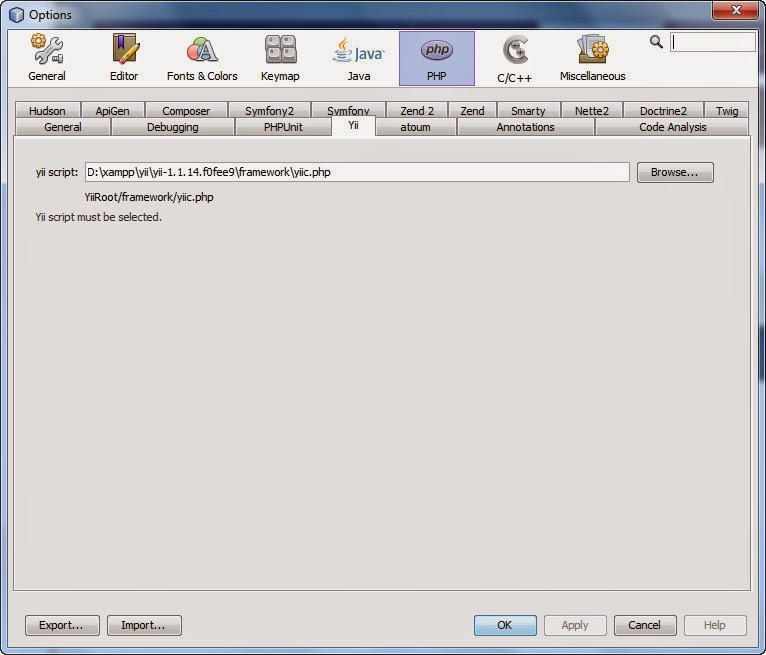
How to call Mysql Stored Procedure with parameters in Yii PHP Framework